Froth Milk at Home Without Frother – Easy Methods

Frothed milk is an ingredient in making the most delicious coffee drinks. From cappuccinos to lattes and beyond, it adds creamy texture and flavor that makes the beverages extraordinary.
While many coffee shops use expensive frothers to create this effect, you can easily make froth milk at home without a frother. In this reading, we are going to show the exact methods with some basic tools and techniques.
Method 1: Whisking Milk By Hand

a. Choose the Right Milk
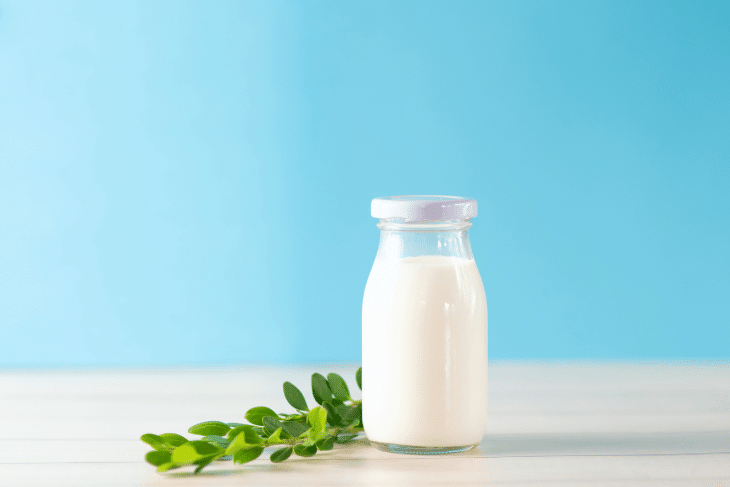
You need to choose good milk to achieve a perfect froth. Go with whole milk as it provides the best results. It has a higher fat content, which makes it easier to froth and create microfoam, resulting in a creamy texture.
The low-fat or skimmed milk lacks the necessary fat content which results in stiff foam that doesn’t blend well with coffee.
b. Heat the Milk
When using the whisk or fork method, heat the milk before frothing easier. Start by heating your desired amount of milk in a saucepan until it reaches around 60-70°C. After that, remove the milk from the heat and transfer it into a small bowl or mug.
c. Use a Whisk or a Fork
Next, take your whisk or fork and vigorously whip the heated milk in circular motions until you reach your desired consistency. This process should take around 2-3 minutes depending on how much foam you want.
A whisk works better for larger quantities of milk while a fork is ideal for smaller portions.
Method 2: Using a Blender

a. Preparing the Blender
You may wonder to hear that you can forth milk by using a blender at home. First, you need to fill it with the amount of milk you required. It is important to not fill the blender more than halfway full as this will prevent proper frothing.
b. Frothing the Milk
Next, add any desired flavorings such as vanilla extract or sugar. Close the lid tightly and blend on high speed for about 30 seconds. Before pouring out the frothed milk, let it settle for a few seconds so that any large bubbles can dissipate. This will ensure that you get a smooth and creamy texture in your latte or cappuccino.
c. Pouring and Enjoying
Additionally, if you want to achieve a denser foam, heat the milk before blending it. Once the milk has reached your preferred temperature and consistency, simply pour it into your favorite mug and enjoy!
Method 3: Shaking Milk in a Mason Jar

a. Add the Milk
You know that frothed milk adds an extra dimension to your morning cup of joe. To start this process, start heating the milk in a saucepan until it is warm but not boiling. Then pour the heated milk into a mason jar and secure the lid tightly.
b. Shake by Hands
Shake the jar vigorously for about 30 seconds until you see foam starting to form on top of the milk. This method creates more foam than steaming or whisking by hand, making it perfect for lattes or cappuccinos.
c. Final Tips
One thing to keep in mind when using this method is that it can be quite messy if not done correctly. Make sure that the lid is on securely and cover it with a towel before shaking to prevent any spills or splatters.
With practice, shaking milk in a mason jar can become an easy and efficient way to achieve frothy perfection without needing any special equipment.
Method 4: Using a French Press

a. Heat the Milk
First, heat the milk on the stovetop or in the microwave until it reaches about 60°C. This is an essential step that ensures the milk froths well and creates the desired texture.
If you’re heating it on the stove, pour the required amount of milk into a saucepan and place it over medium heat. Once your milk reaches about 150°F, remove it from heat and let it cool for about 30 seconds before proceeding.
Pour your preferred amount of cold milk into a microwave-safe jug. Heat for 20-30 seconds on high depending on how much milk you have, then stop microwaving when small bubbles start forming at the edges of your jug or container.
b. Pour and Stir
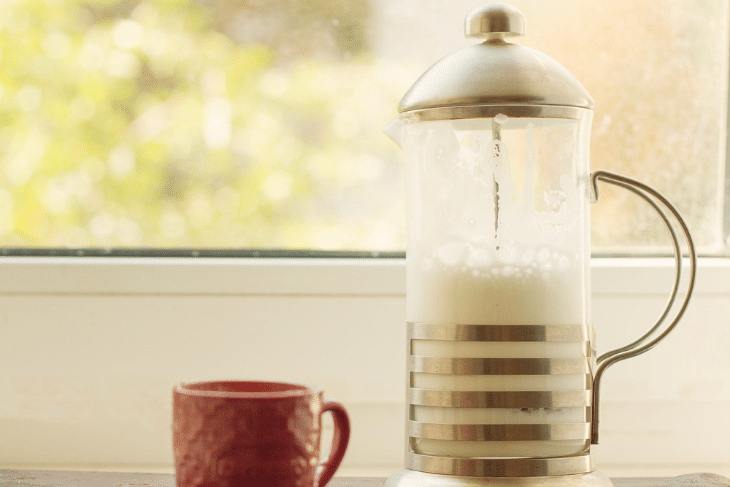
After heating the milk to approximately 140°-150°F, it is time to froth it up. To do this, pour the hot milk into a French press about halfway full. Whole milk is typically the easiest type of milk to froth, while skim or almond milk may require more effort and technique.
c. Pump the Plunger
Next, you have to pump the plunger up and down rapidly for around 10-15 seconds. This is what will create those lovely air bubbles that give your milk its creamy texture.
Make sure you hold onto the lid of your French press tightly as you do this, as it can be quite easy for it to come loose during this step. If you’re finding that the plunger is getting stuck at any point, don’t force it – instead, remove some of the foam from inside the press and try again.
After around 15 seconds of pumping, take a look at your milk. It should now have a thick layer of foam on top – exactly what we’re looking for!
Final Words
Frothing milk is a great way to save money and get the perfect consistency for your coffee drinks. You can use a French press, mason jar, or even just a whisk to achieve the desired foam.
With some practice, you’ll quickly master the technique and be able to craft delicious cappuccinos, lattes, and more without needing an expensive frother.
So why not give it a try?


